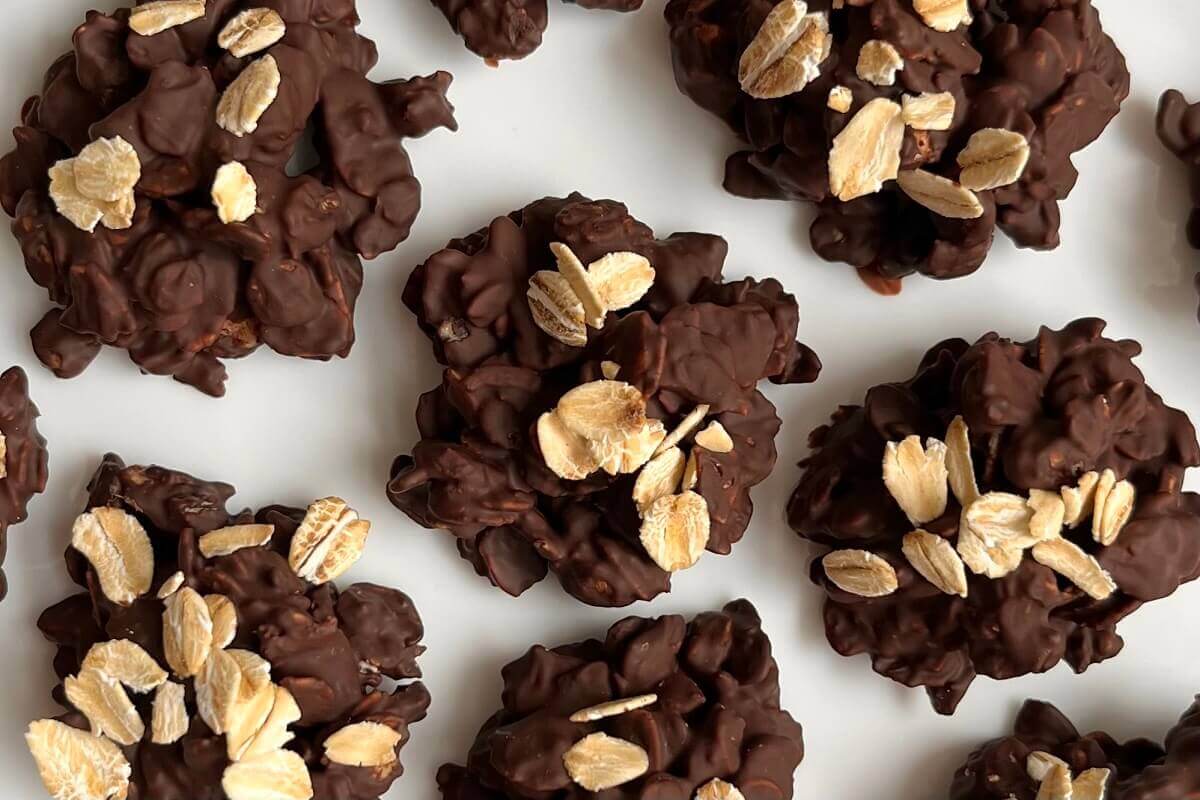
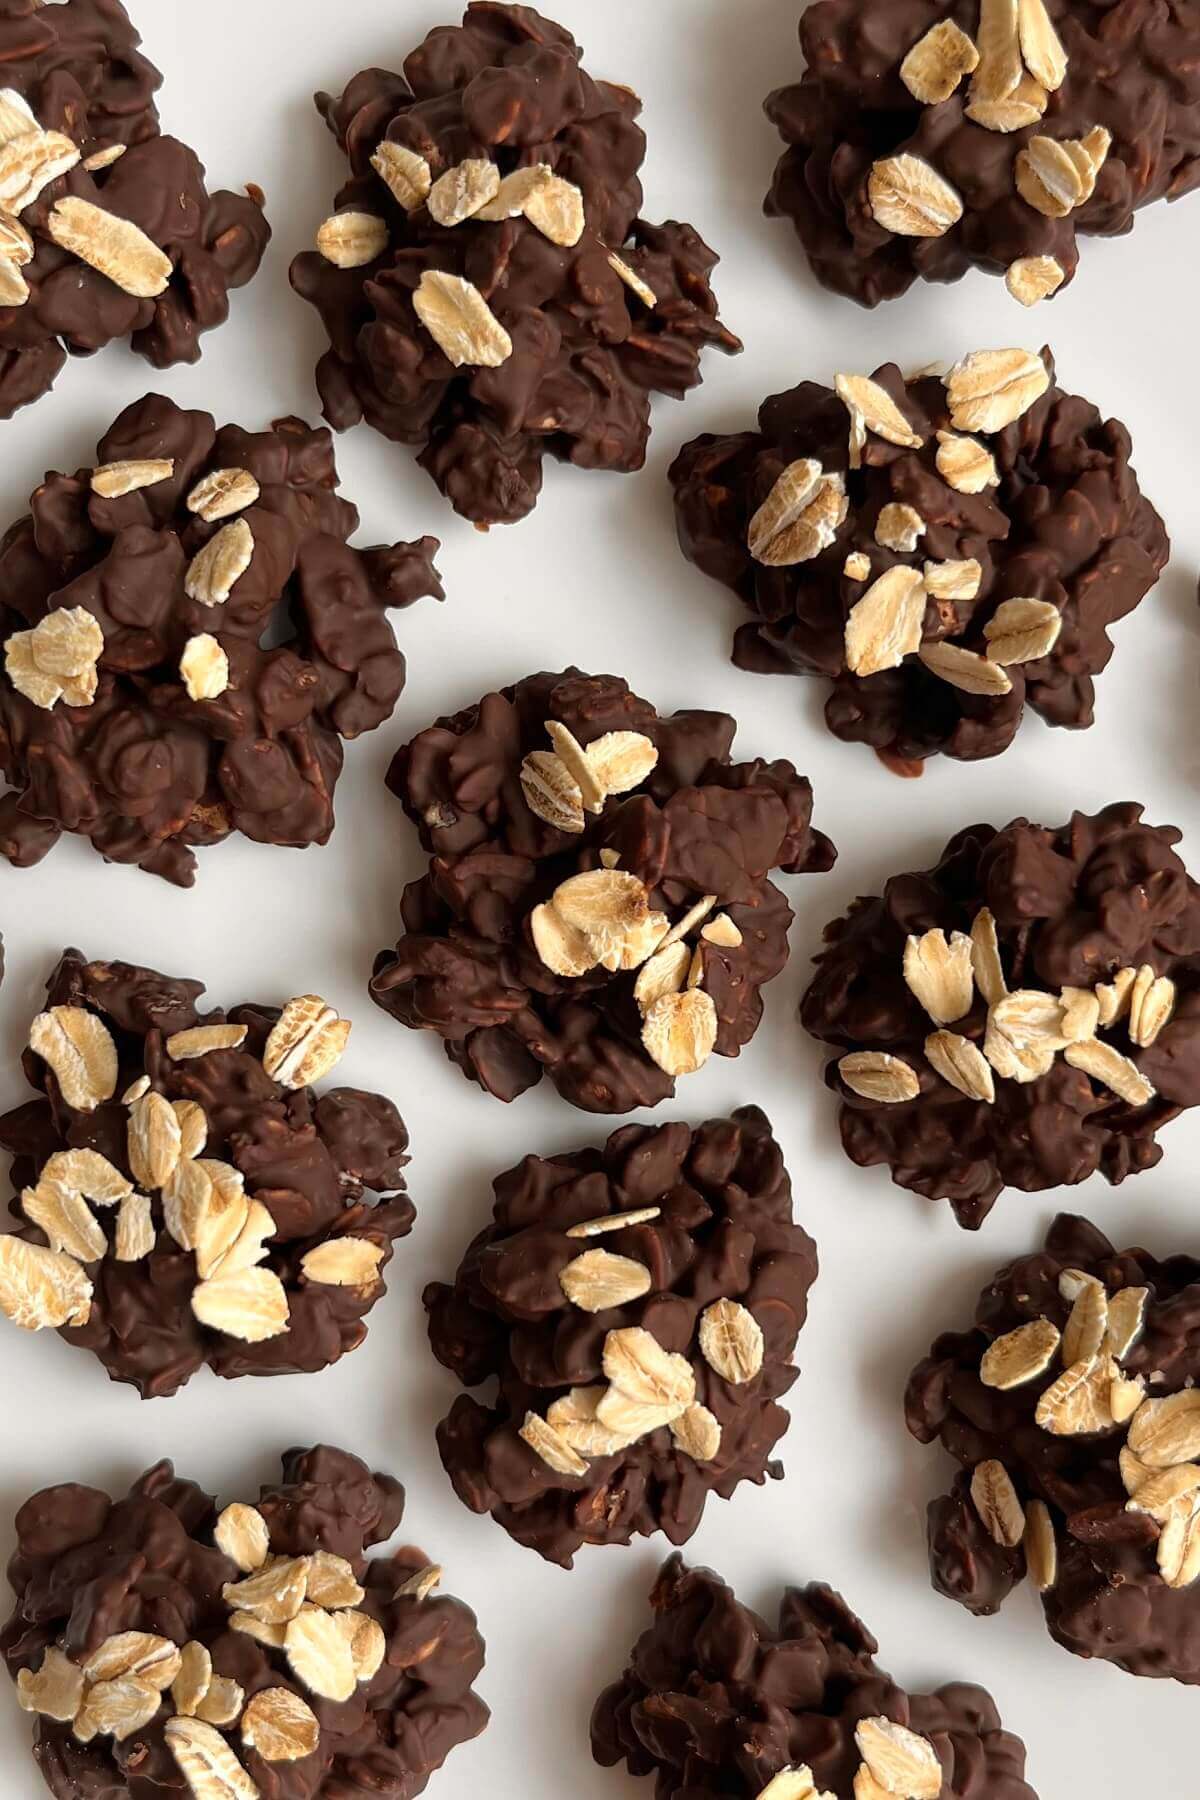
These chocolate oat clusters are a delicious and nourishing treat. They taste similar to oatmeal chocolate chip cookies, but with a crunchier texture and a more intense chocolate flavor. They’re easy to make and perfect when you’re in the mood for a nutrient-dense dessert or snack. Give them a try if you’re looking for simple treats recipes, like these dark chocolate sunflower seed butter cups, which are another tasty option.
Ingredients and Substitutions
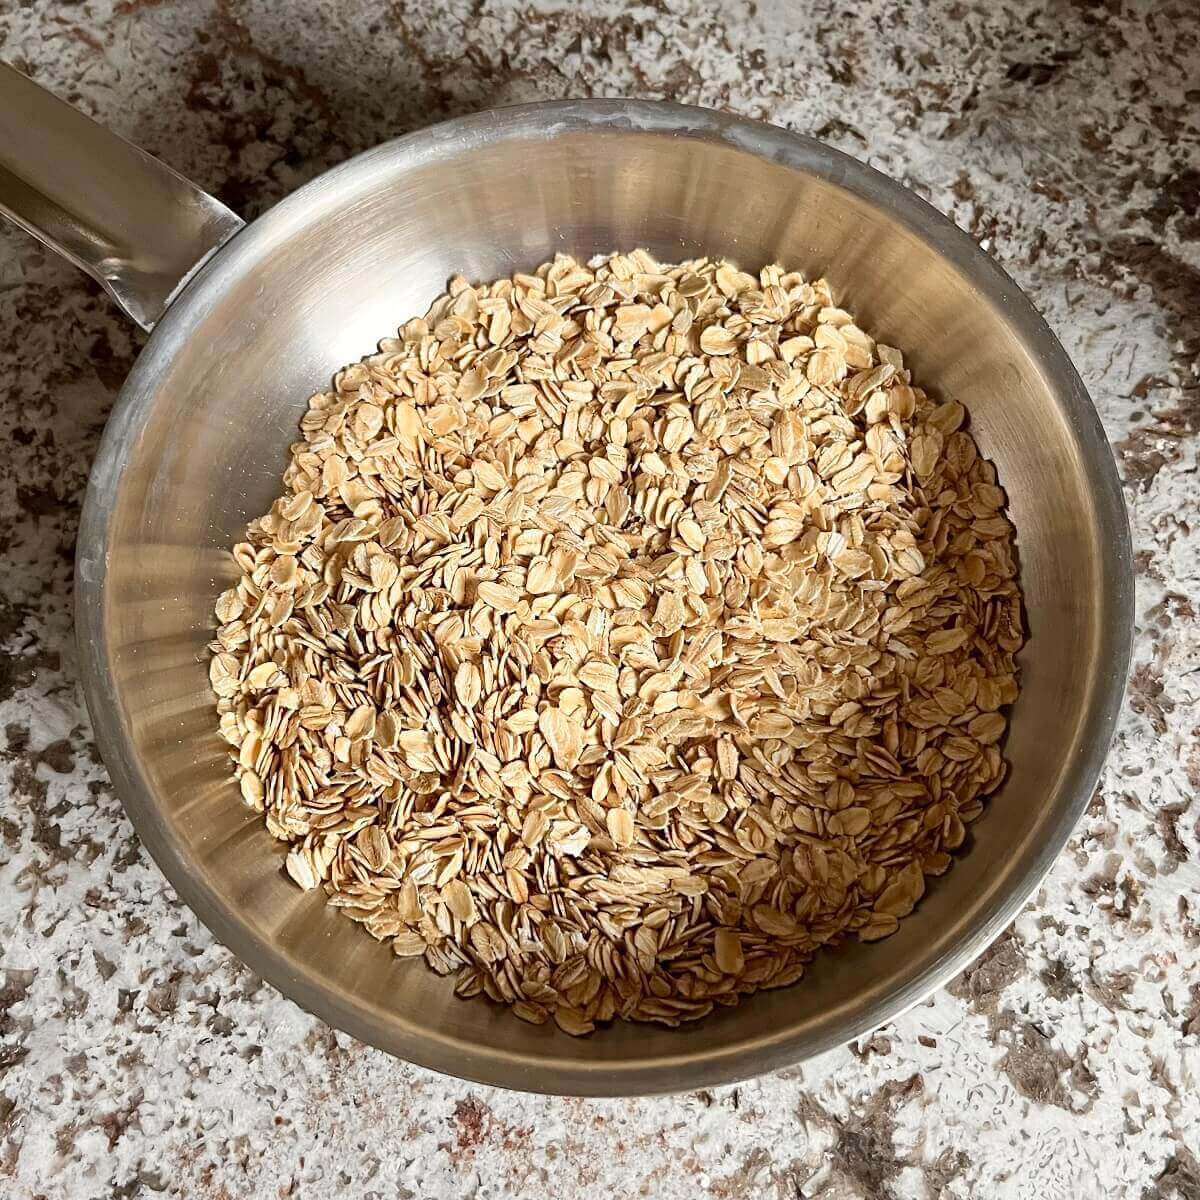
Rolled oats give these clusters a warm, cozy flavor. Oats add fiber as well as nutrients such as iron, magnesium, B vitamins, zinc, and copper to these treats. Don’t skip the step of toasting the oats because the toasting process really improves both the flavor and texture of these clusters.
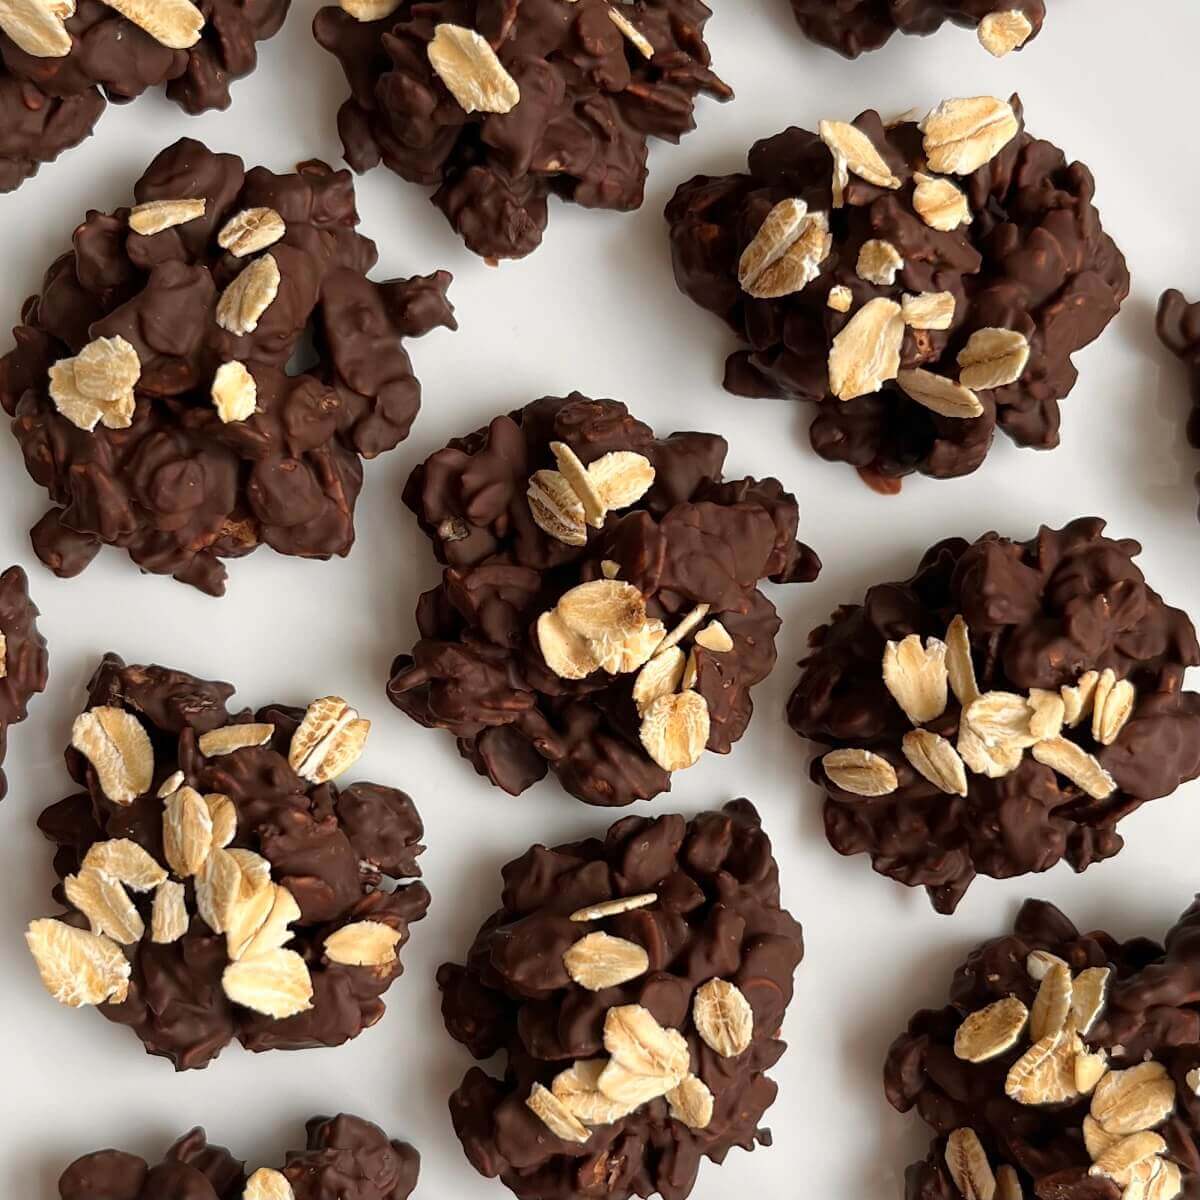
I like to use dark chocolate when making these treats, because it’s packed with antioxidants, polyphenols, and nutrients. You can substitute any type of chopped chocolate you prefer (or use chocolate chips to save the step of chopping the chocolate).
How to Make Chocolate Oat Clusters
Start by adding the rolled oats to a pan on the stove set to medium heat. Cook, stirring constantly for 2-3 minutes or until the oats are fragrant and lightly toasted.
Transfer the toasted oats to a bowl. Next you’ll add the chopped dark chocolate to a pan on the stove set to low heat (you can use the same pan you used to toast the oats). Cook, stirring constantly until the chocolate has melted, then immediately remove the pan from the heat.
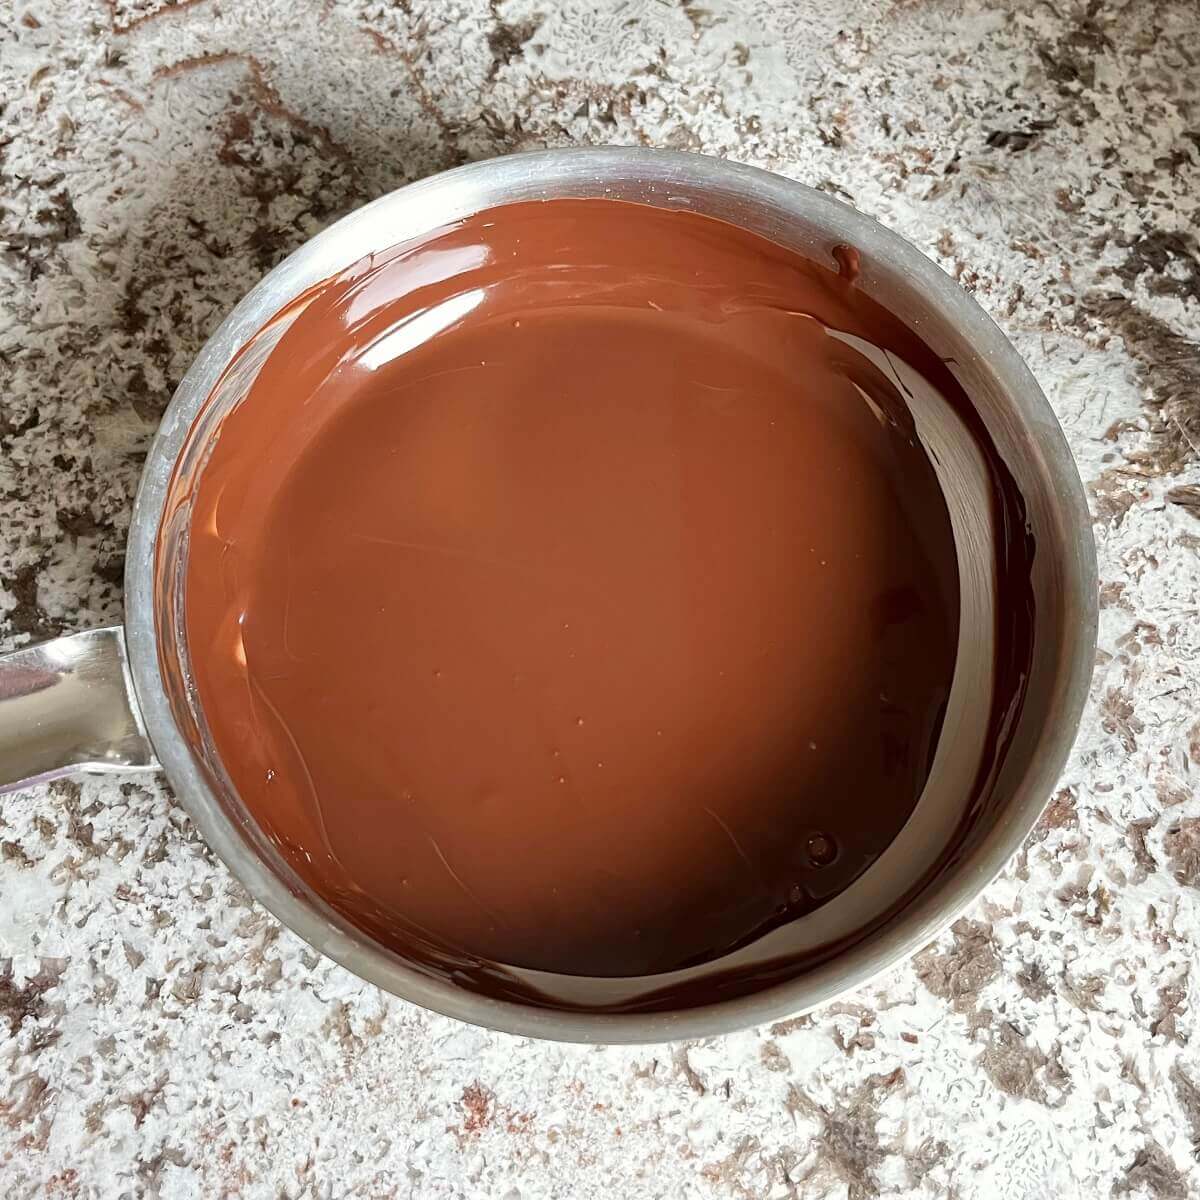
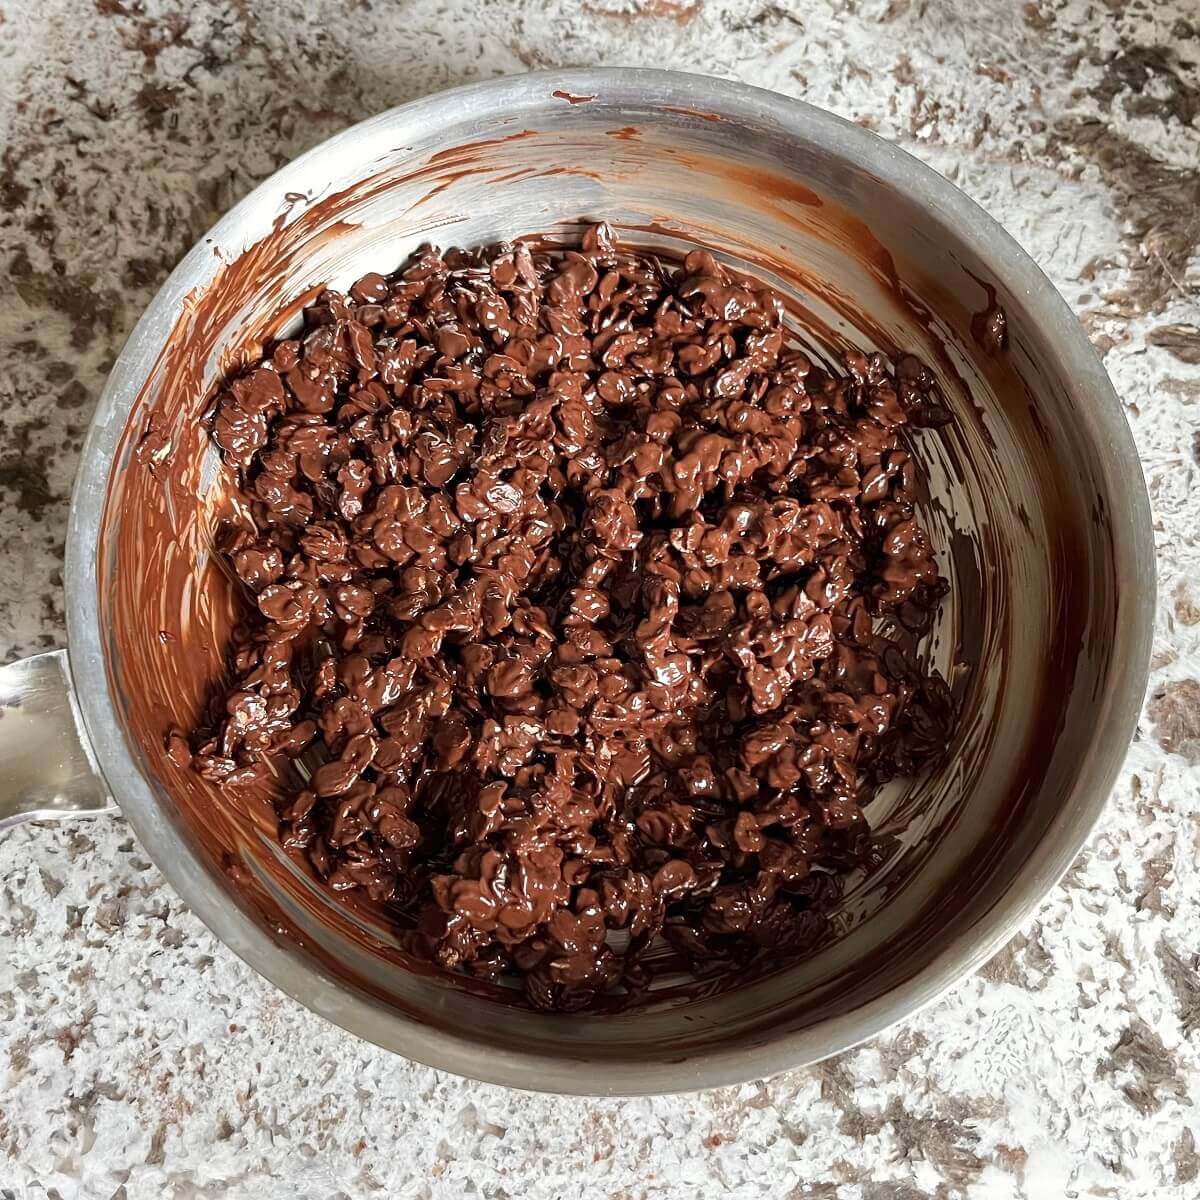
Set aside 2 tablespoons of the toasted oats for the topping, then add the rest of the oats to the pan of melted chocolate. Mix well, ensuring the oats are completely coated in melted chocolate.
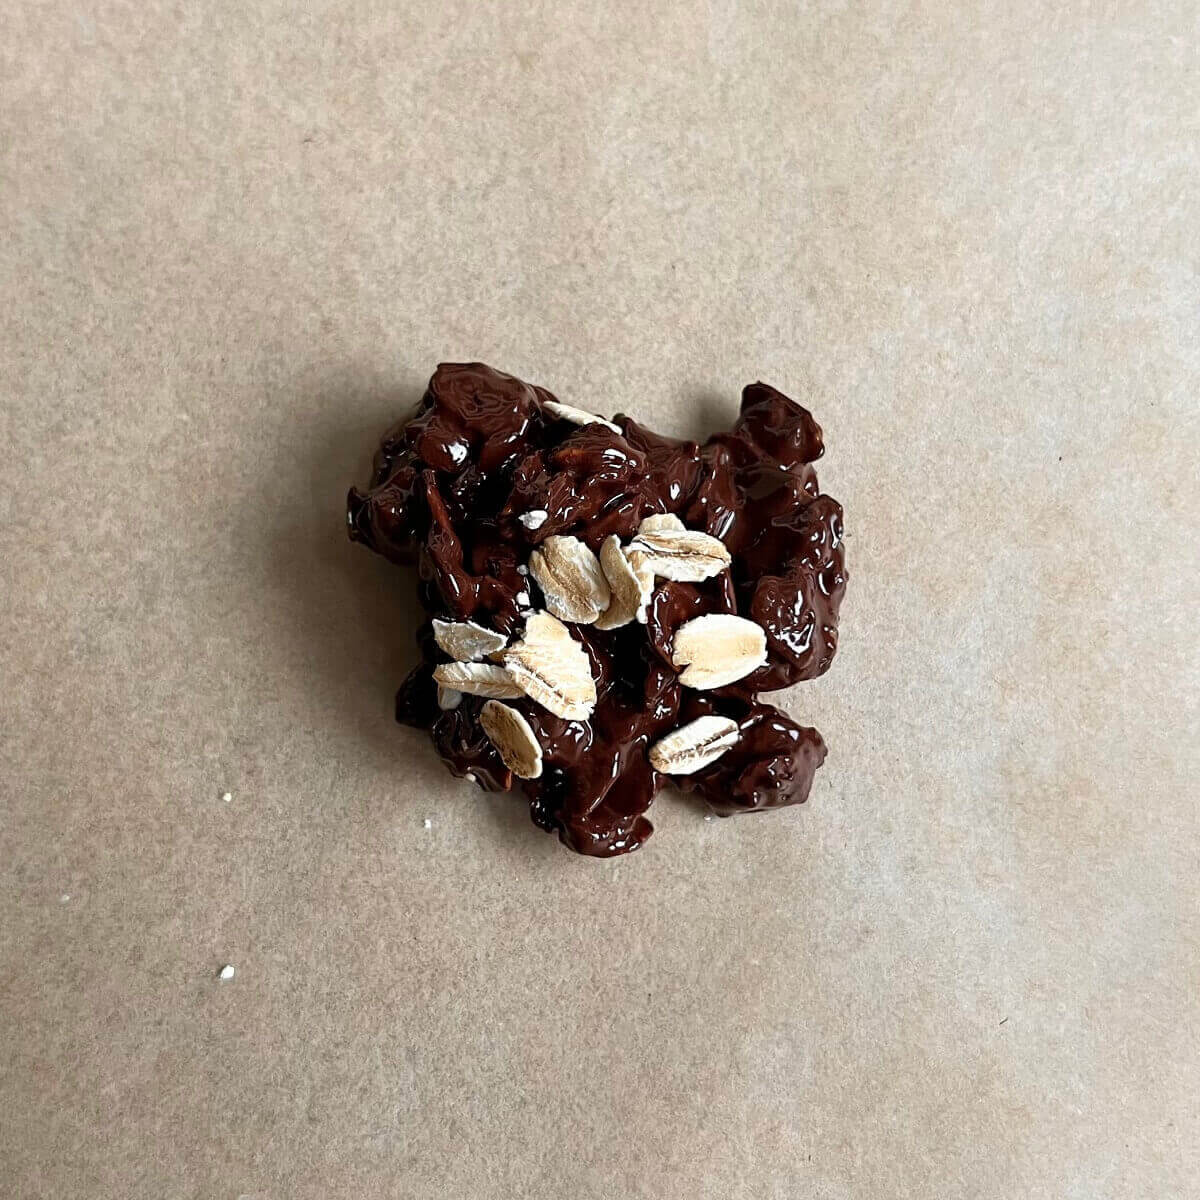
Scoop out 1 tablespoon of the chocolate coated oats and place it on a sheet pan or large plate lined with parchment paper.

Immediately add a small sprinkle of the plain toasted oats on top of the chocolate oat cluster.
Repeat this process with the rest of the chocolate oat mixture (you should end up with about 18 clusters).
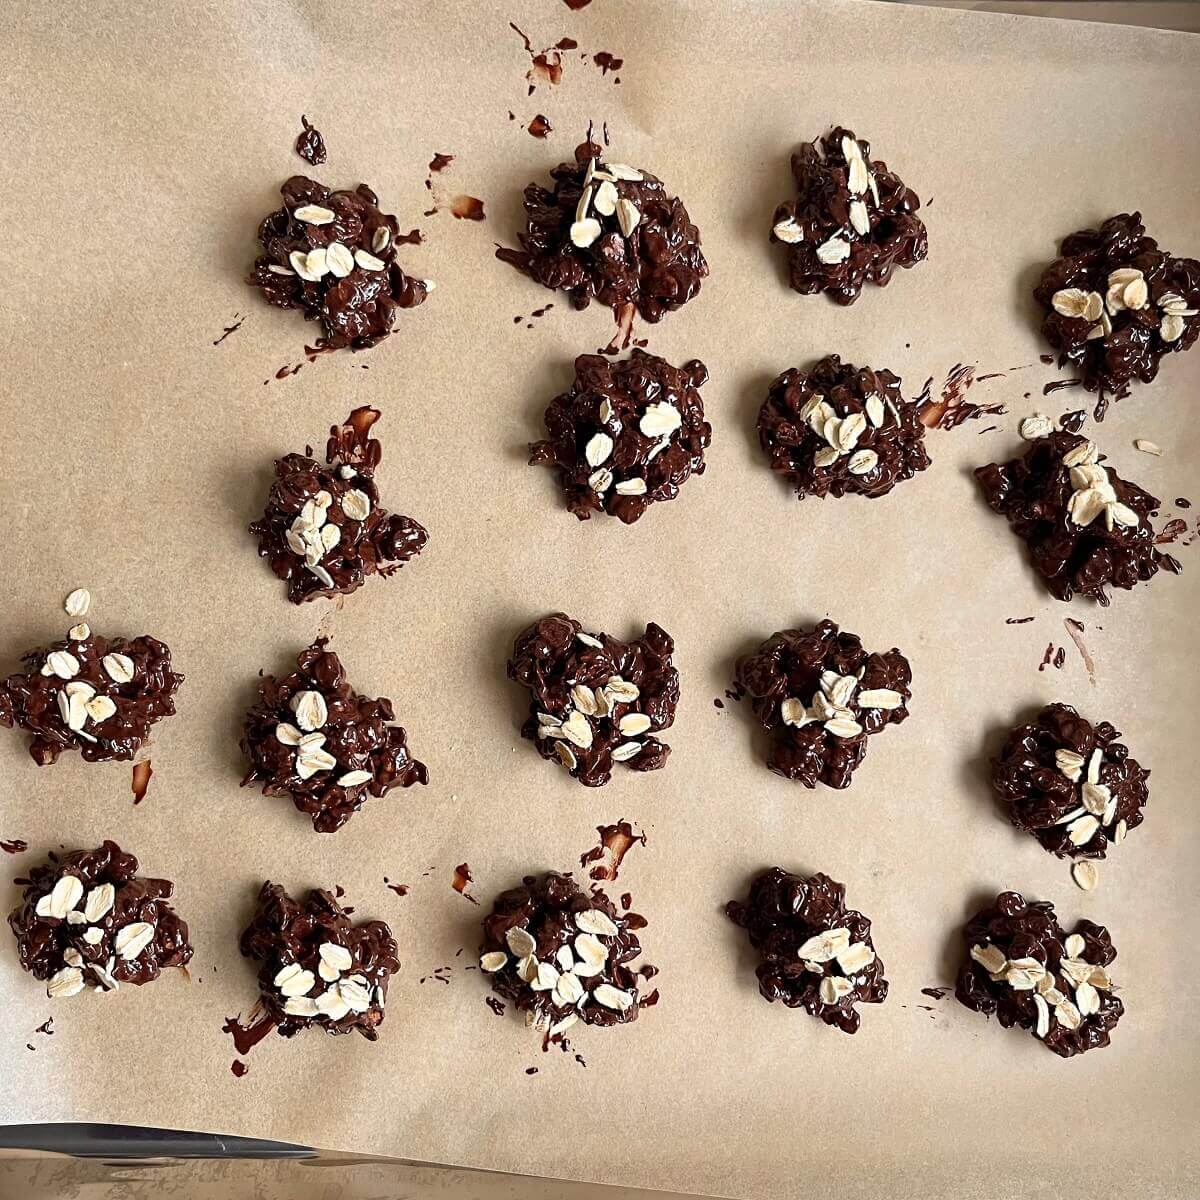
Place the sheet pan or plate in the fridge for at least one hour to let the clusters chill before serving.
Note About the Oat Topping
You can skip the plain oat topping if you prefer. I like adding it because it makes the clusters look prettier in my opinion, but if you’re making these treats for picky kids who might not like the look of the plain oats on top, feel free to skip that step.
Chocolate Oat Clusters Recipe
Equipment
- Parchment paper
Ingredients
- 1 cup rolled oats
- 1 cup chopped dark chocolate (or substitute chocolate chips)
Instructions
- Add 1 cup rolled oats to a pan on the stove set to medium heat.
- Cook, stirring constantly for 2-3 minutes or until the oats are fragrant and lightly toasted.
- Transfer the toasted oats to a bowl.
- Add 1 cup chopped dark chocolate to a pan on the stove set to low heat (you can use the same pan you used to toast the oats).
- Cook, stirring constantly until the chocolate has melted, then immediately remove the pan from the heat.
- Set aside 2 tablespoons of the toasted oats for the topping, then add the rest of the oats to the pan of melted chocolate.
- Mix well, ensuring the oats are completely coated in melted chocolate.
- Scoop out 1 tablespoon of the chocolate coated oats and place it on a sheet pan or large plate lined with parchment paper.
- Immediately add a small sprinkle of the plain toasted oats on top of the chocolate oat cluster.
- Repeat steps 8-9 with the rest of the chocolate oat mixture (you should end up with about 18 clusters).
- Place the sheet pan or plate in the fridge for at least one hour to let the clusters chill before serving.
Notes
-
Store these treats in an airtight container in the fridge for up to five days or in the freezer for up to three months. Thaw at room temperature or in the fridge before serving.
-
You can skip the plain oat topping if you prefer. I like adding it because it makes the clusters look prettier in my opinion, but if you’re making these for picky kids who might not like the look of plain oats, feel free to skip that step.
Nutrition
