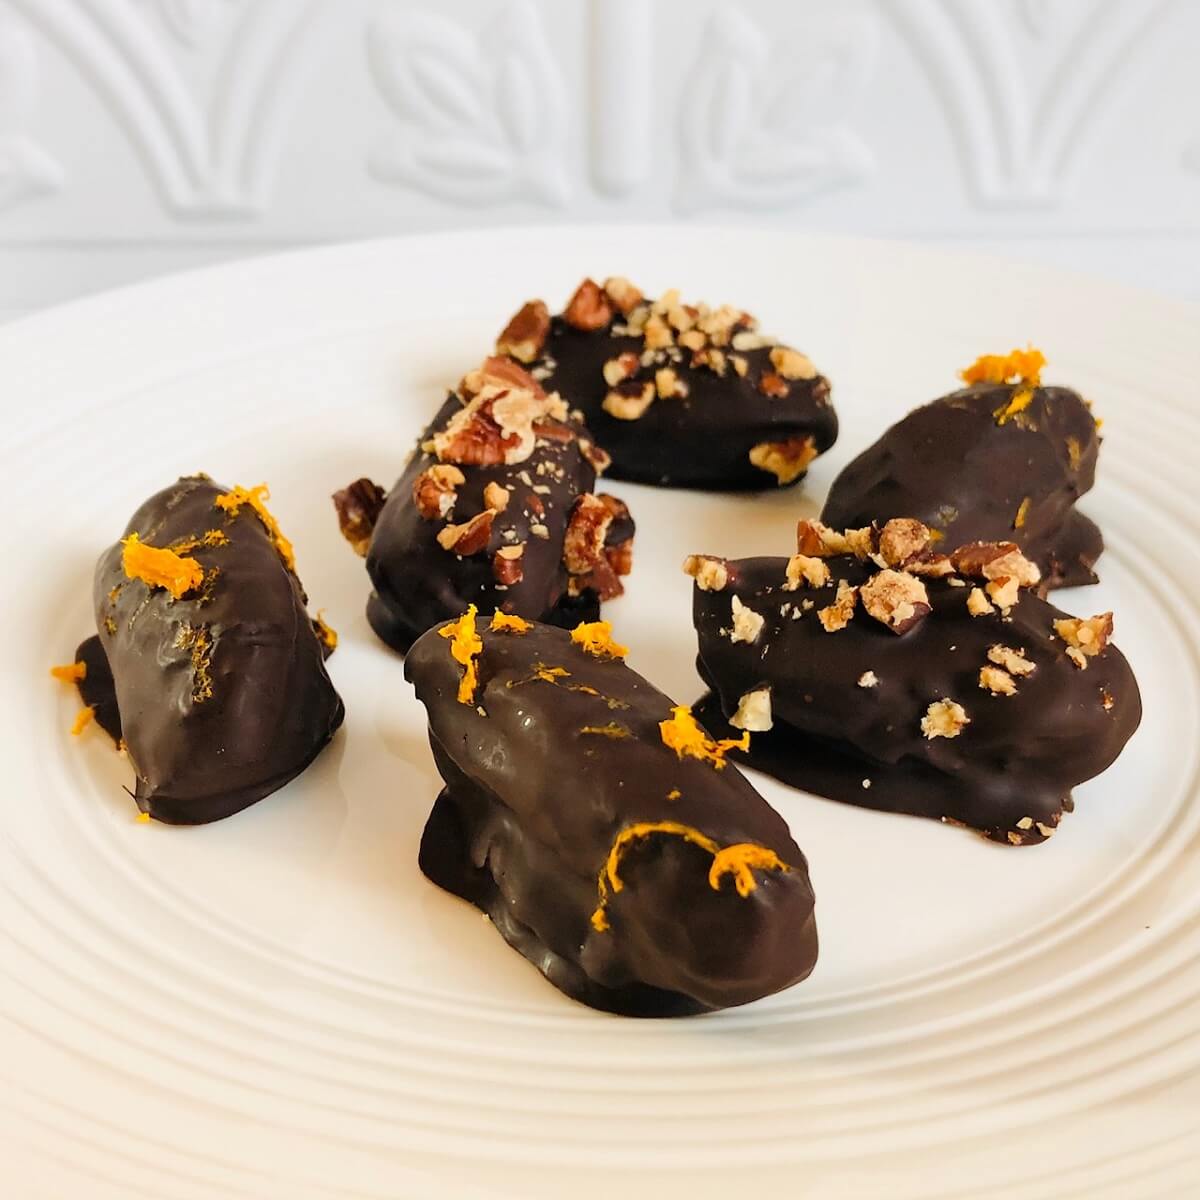
These chocolate covered dates are one of my favorite easy treats. They also make great homemade gifts. Give them a try if you’re looking for simple dessert ideas, like these chocolate covered grapes, which are another delicious option.
Key Ingredients
There are many different varieties of dates and all of them will work well in this recipe, but I’m partial to Medjool dates. They’re big and sweet with a delicious caramel-like flavor. If you can’t find Medjool dates, you can use Deglet Noor or any other type of date you can find.
Since Medjool dates are naturally so sweet, I opted to cover them in a variety of dark chocolate that isn’t very sweet, is quite low in refined sugar, and is very high in cacao solids (I chose a chocolate bar containing 90% cacao solids). Any kind of chocolate will work, so use whatever type suits your diet and palate.
Optional toppings for these chocolate dates include freshly grated orange zest (my personal favorite), finely chopped pecans, peanuts, walnuts, or pistachios. Shredded coconut or a sprinkling of flaky sea salt are delicious toppings too.
How to Make Chocolate Covered Dates
Watch this short video to see the steps:
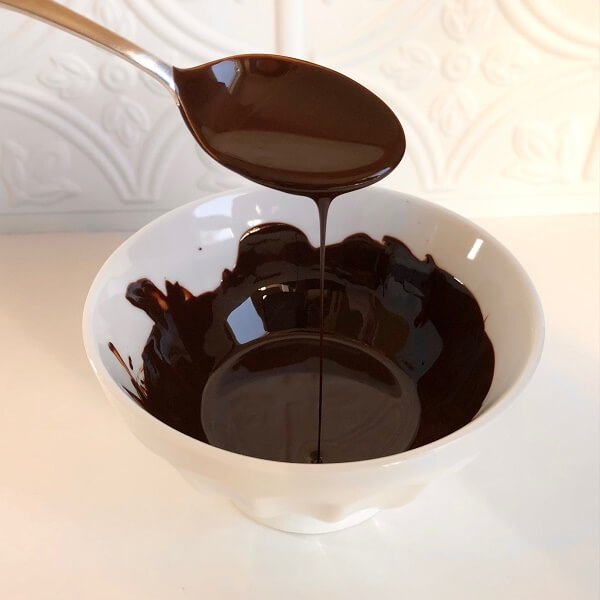
Start by removing the pits from the dates if they’re not already pitted. Next you’ll add the chopped chocolate to a microwave-safe bowl and heat at 20 second increments, stirring afterwards, until melted (alternatively you can melt the chocolate in a pot on the stove set to low heat, stirring constantly until melted, then immediately remove the pot from the heat).
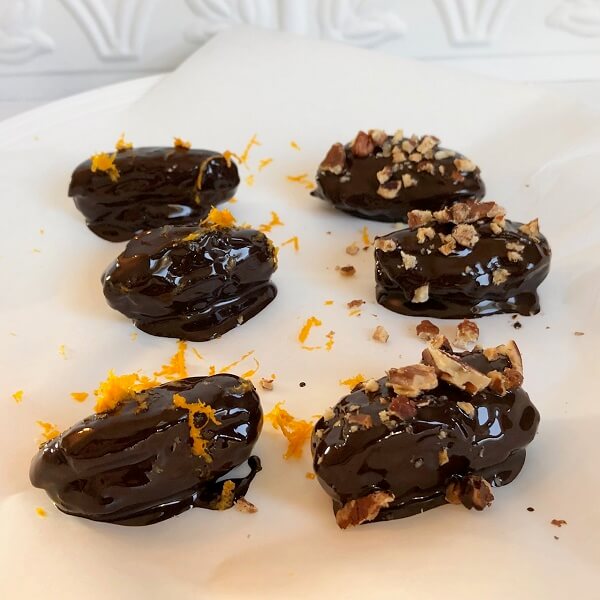
Next you’ll add a pitted date to the bowl of melted chocolate and gently stir to thoroughly coat it in chocolate. Use a fork to lift the date out of the chocolate, allowing any excess chocolate to drip back into the bowl, then place it on a large plate or sheet pan lined with parchment paper or a silicone baking mat. Immediately sprinkle on whatever toppings you like, then repeat this process with the rest of the dates.
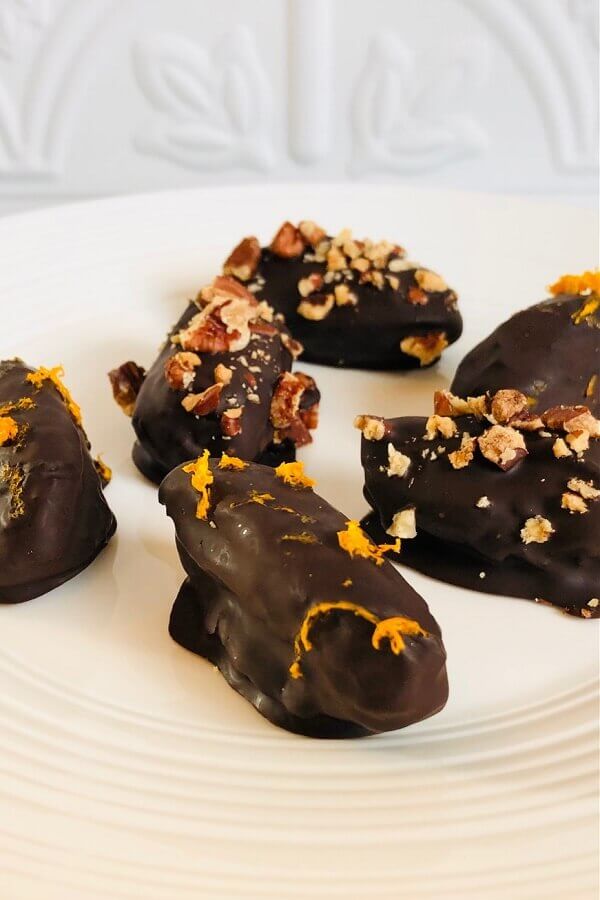
Place the plate of chocolate coated dates in the fridge for a minimum of 45 minutes to harden before serving.
Optional Fillings
For added flavor and crunch, place a nut such as a toasted pecan or almond inside the date (right where the pit would have been) before coating it with chocolate. Or stuff the dates with peanut butter, almond butter, or cashew butter before coating them in the melted chocolate.
Nut-Free Option
For a nut-free version of these treats, add a sprinkling of pumpkin seeds or sunflower seeds to achieve a similar crunch and flavor contrast.
Giving Them as Gifts
These chocolate dates are perfect for gifting. Place them in a paper gift box, tin, or cellophane bag. Then add a pretty ribbon and label tag. When giving these treats as gifts, it’s nice to use several different toppings, as if they were a box of assorted chocolates.

Chocolate Covered Dates Recipe
Equipment
- Parchment paper or silicone baking mat
Ingredients
- 3/4 cups chopped dark chocolate (or substitute chocolate chips or any type of chocolate you prefer)
- 14 Medjool dates (or substitute any other type of date you prefer)
- optional toppings: freshly grated orange zest, finely chopped nuts, shredded coconut, or flaky sea salt.
Instructions
- Remove the pits from 14 Medjool dates (if not already pitted).
- Add 3/4 cups chopped dark chocolate to a microwave safe bowl and heat at 20 second increments, stirring after each time, until melted (alternatively you can melt the chocolate in a pot on the stove set to low heat, stirring constantly until melted, then immediately remove the pot from the heat.
- Add a date to the bowl of melted chocolate and gently stir to thoroughly coat it in chocolate.
- Use a fork to lift the date out of the chocolate, allowing any excess chocolate to drip back into the bowl, then place it on a large plate or sheet pan lined with parchment paper or a silicone baking mat.
- Immediately sprinkle on any toppings, if desired.
- Repeat steps 3-5 with the rest of the dates.
- Chill the chocolate dipped dates in the fridge for a minimum of 30 minutes to allow the chocolate coating to dry and harden.
Video
Notes
- To reduce the amount of added sugar in this recipe, choose a variety of dark chocolate that contains a high percentage of cacao solids (the brand I used contains 90% cacao solids).
- Store in an airtight container in the fridge for up to a week.
Nutrition Estimates
More Chocolate Covered Treat Recipes
- These chocolate covered blackberries are formed into cute little clusters.
- These chocolate walnuts are an easy, elegant addition to any dessert table.
These look so simple but are really delicious. I like the idea of adding different toppings like nuts or sea salt.
Thanks so much and glad you enjoyed!
Chewy, nutty and rich in flavor. This is a beautiful unexpected combination. I love chocolates but not a real big fan of dates. This one I think I can really get used to. I wish it did not have that many calories but then… you can’t have all the good things in life…
So glad you enjoyed them! Thanks for the feedback!